
The Light, Backdrop and Lens Choices Behind Our Portrait Sessions
A look at the lights, modifiers, backdrops and lenses we rely on for presenter and guest portraits, and why each one earns its place on the studio floor.
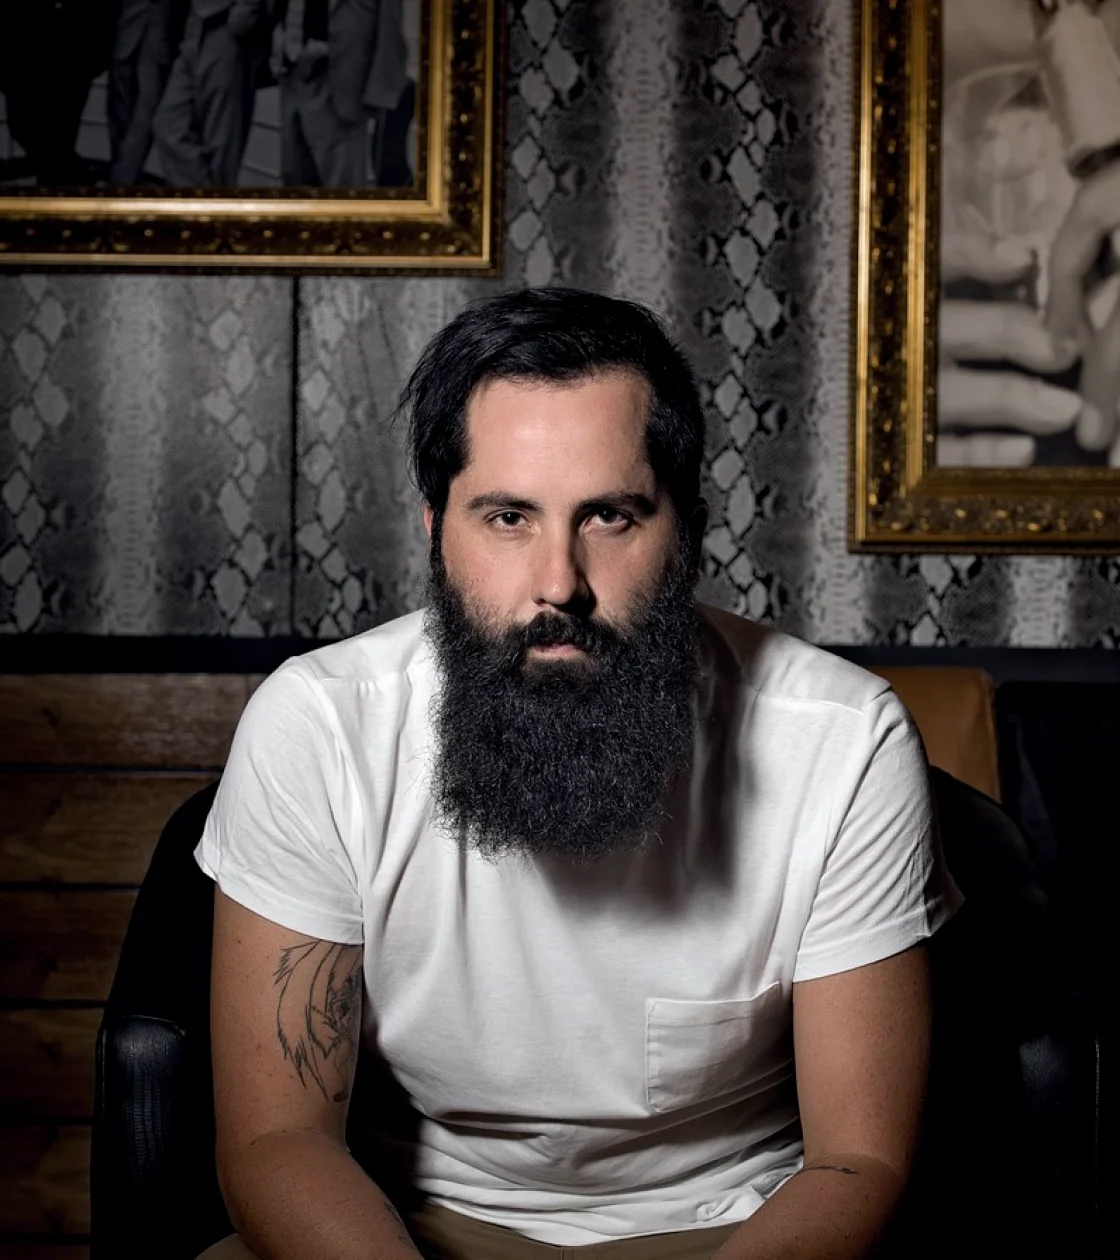
Every portrait session we run begins with one light and one question: what should this face look like on the page? We place a large softbox slightly above eye level and a little off to one side, then walk around the sitter before a single frame is taken. Skin, glasses, hair and collar all react differently, and the first ten minutes of watching those reactions saves an hour later.
We choose a large source because size is what softens shadow. A modifier close to the sitter wraps light around the cheekbones and nose, while a small or distant source draws hard edges that look severe in print. For presenters who will be used on posters and programme pages, that gentle falloff holds up when the image is cropped tightly.
Only after the key light is settled do we add anything else. Building up from one source keeps the setup readable, so anyone on the crew can see where each shadow comes from and correct it without guessing.
Fill is where many portraits go wrong. Too much and the face flattens into something with no shape; too little and the shadow side drops into murk that cannot be recovered. We usually fill with a plain white card or a folding reflector rather than a second powered light, because a reflector can only ever return a fraction of what the key provides.
That built-in ratio is the point. The shadow side stays lower than the lit side by a consistent amount, so a run of portraits across a morning looks like one set. When a client needs a brighter, more open look for a lifestyle programme, we move the reflector closer. For a serious interview feature we pull it back and let the contrast carry some weight.
We also watch the nose and chin shadows closely, since those are the details viewers read first. A small shift in the height of the key light can turn an awkward shadow into a clean one.
We keep a small set of paper and fabric backdrops in neutral greys, a warm off-white and one deep blue. Plain tones photograph predictably and let colour correction stay simple. A backdrop only behaves when it is lit separately from the sitter, so we place the sitter well forward of it, often two metres or more.
That distance does two jobs. It stops the key light spilling onto the background and lifting it into an uneven patch, and it lets us light the backdrop deliberately, either evenly for a clean field or with a gentle gradient for depth. A sitter pressed close to the wall will always carry a shadow outline that no amount of editing hides well.
When a presenter wears a colour close to the backdrop, we change the backdrop rather than ask them to change clothes. It is quicker, and it keeps the person comfortable, which shows in the expression.
For head-and-shoulders work we reach for a short telephoto, roughly in the range of an 85 to 105 millimetre equivalent. That focal length flatters faces because it keeps features in natural proportion, where a wide lens placed close would enlarge the nose and compress the ears away.
Working distance matters as much as the lens itself. Standing a few metres back gives the sitter space, and it means we can talk across the room rather than hover. People relax when a camera is not pushed into their face, and presenters who spend their days under studio cameras are often more guarded than first-timers.
We shoot with a moderately wide aperture to separate the face from the backdrop, but not so wide that one eye is sharp and the other soft. Focus lands on the eye nearest the camera every time, and we check it on the back of the camera at full zoom.
We shoot tethered to a laptop whenever the room allows. A larger screen shows what a small camera display hides: a stray hair, a catch of light in a lens, a collar sitting crooked. The guest can see a frame too, and agreeing on a look in the room is far kinder than disappointing someone afterwards.
Colour consistency is the other reason. We use lights of one colour temperature throughout a session and set white balance from a grey card at the start. Mixing a warm room lamp with daylight-balanced studio lights quietly ruins skin tones, so we switch off the room lighting and work only with the sources we control.
Because our background is in broadcast lighting, we treat these portraits the way we would treat a camera shot: a consistent exposure from frame to frame, measured, not hoped for. Presenters and guests photographed across a week still look like they belong together.
The kit matters less than the pace of the session. We keep each setup simple enough that a change takes a minute, which leaves attention for the person in front of the lens. A few friendly directions about chin, shoulders and where to look do more than any piece of equipment.
Afterwards we deliver files named by sitter and frame number, with a light, consistent edit rather than heavy retouching. Producers usually need images for programme pages, press packs and social posts, so we supply a full-size version and a smaller web version of each selected frame.
Before anyone arrives we agree the intended use, since a tall crop for a poster and a wide crop for a banner need different framing at the time of shooting, not afterwards.
Good portrait work comes from a short list of dependable tools used with care: one large key light, a simple fill, a well-placed backdrop, a flattering lens and a calm room. None of it is unusual, and that is the point. When the method stays steady, presenters and guests look like themselves, and the images are ready for whatever the programme needs next.
Keep reading
Tally, Talkback and Tie Lines: Routing Terms Explained Plainly
Three terms you will hear in any control room, explained without jargon: what a tie line, a tally and a talkback path actually do, and why they matter before transmission.
Lavalier or Handheld Microphones for Presenter-Led Shows: Which to Choose
A comparison of lavalier and handheld microphones for talk shows and live events, covering speech clarity, handling noise and crew effort, with a clear recommendation from the audio desk.
A checklist for signal routing before you commit to a design
Tom Eastley sets out the questions worth answering before a cabling, routing and intercom plan is signed off, so cameras, graphics and playout connect without surprises on the day.